Goshan’s Jaw Plate
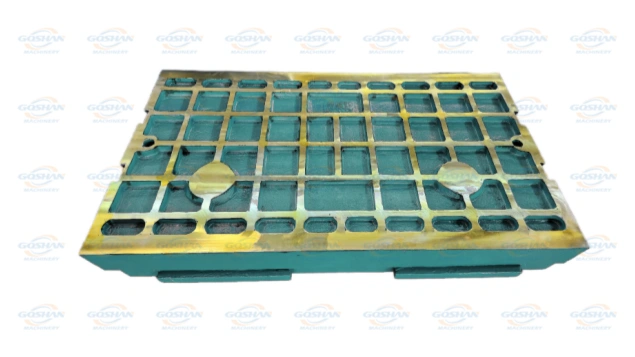
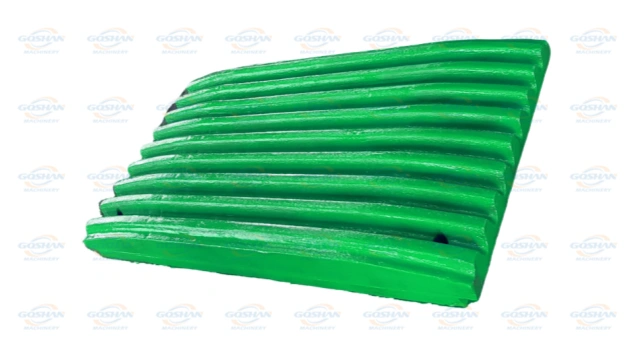
After 15 years of focusing on the manufacturing of impact jaw crusher accessories, we are well aware of the coordinated wear law of fixed jaw plates and movable jaw plates. The workshop is always equipped with three types of steel ingots from Mn13Cr2 to Mn22Cr2. Each batch of incoming materials must be tested by a spectrometer for three tests – blocks with a manganese content deviation of more than 0.5% are directly returned to the supplier. The jaw plate group made for the Chilean copper mine last year is a typical example: the fixed plate is made into a gradient section with a thin top and a thick bottom, and the tooth peak of the movable plate is changed to a wave cross layout, which increases the service life of the product by 35%.
If you have disassembled your own jaw plate, you will find that the area around the bolt hole always cracks first. We have also encountered such a problem: use finite element analysis to find the stress concentration point and recalculate the back curvature of the fixed plate. Like the quarry in Malaysia, it used to have to stop and replace the plate every 3 months. We added a 15 mm buffer shoulder to their fixed plate and rounded the root of the movable plate to strengthen the tooth. Now it runs stably for 5 months. The CNC milling machines currently used on the production line can control the jaw plate assembly gap within 0.5 mm, which is higher than the industry standard of 1 mm.
We are serious about quality control. Each product will be tested for hardness at least 3 times – only those that meet the requirements will pass the inspection. When passing the ISO9001:2015 certification last year, the auditor specifically checked the heat treatment process records. The temperature fluctuation of the three processes of 880℃ oil quenching + 260℃ tempering + liquid nitrogen deep cooling never exceeded ±10℃. Now each batch of shipments comes with a heat treatment curve and metallographic test samples. Several customers in the Middle East use our test reports to pass the final customer’s review.
If you encounter problems with the life of the jaw plate or assembly accuracy, please come to the drawing to communicate at any time. Our engineering team directly analyzes the stress distribution based on the wear surface photos and gives material optimization solutions or structural improvement suggestions within 48 hours. If emergency treatment is required, technicians can be arranged to carry portable testing equipment to conduct on-site surveying and mapping, and control the heat treatment curve from drawing confirmation to finished product delivery to ensure that the assembly tolerance does not exceed 0.5 mm. Solving problems does not rely on empty talk, but on fifteen years of proven experience.
.png)
